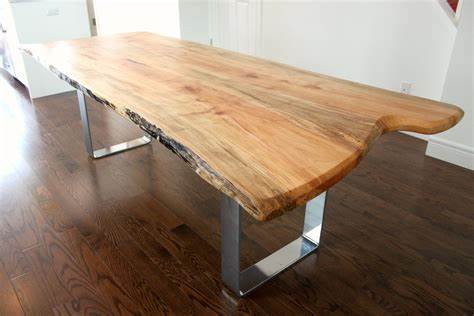
Live edge wood is a style of furniture that maintains the natural, raw edge of the wood, giving it a unique and organic appearance. Whether you’re creating a table, shelf, or countertop, live edge wood projects allow you to showcase the wood’s natural beauty while offering a rustic yet elegant feel. Below is a step-by-step guide on how to finish live edge wood.
Table of Contents
Step 1: Preparing the Wood
Properly drying your live edge wood is key to preventing cracks and ensuring stability. For best results, use kiln-dried slabs with a 6-8% moisture content. If unsure, use a moisture meter to check.
To dry the wood:
- Air-drying: Stack slabs with spacers (stickers) for airflow.
- Kiln-drying: Use a kiln for controlled drying over several weeks.
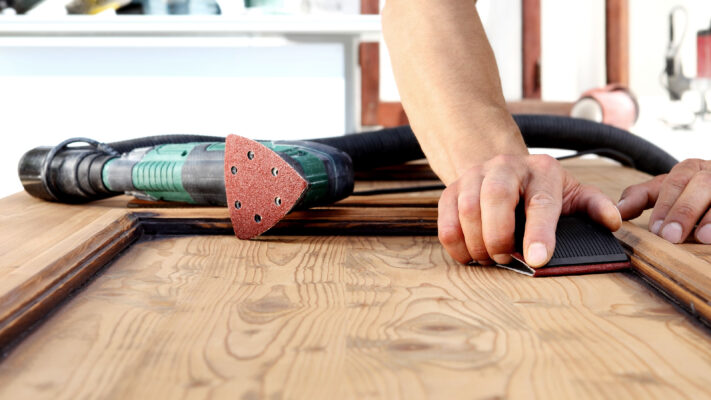
Before finishing the slab, it must be clean and flat.

Tools Needed:
- Router
- Router sled or jig
- Straight-edge cutting bit
- Orbital sander
- Sandpaper (120-grit to 220-grit)
Steps to Flatten the Slab:
- Setup: Place the slab on a stable work surface, like sawhorses or a workbench. Set up your router sled or jig to span the width of the slab.
- Routing: Attach a straight-edge cutting bit to the router. Adjust the bit’s depth to just touch the highest point on the slab’s surface. Lock the router base and run it across the slab using the sled or jig to remove any high spots, working your way down to a flat surface.
- Sanding: After routing, sand the slab starting with 120-grit sandpaper on an orbital sander to smooth out rough areas. Gradually work up to 220-grit for a polished surface.
Step 2: Choosing the Right Finish
Choosing the right finish for your live edge wood is essential to protect and enhance its natural beauty. Below are some popular finishing options:
- Polyurethane: Durable, water-resistant, ideal for heavy-use furniture like dining tables and countertops.
- Lacquer: Fast-drying with a glossy finish, but prone to scratches over time.
- Shellac: Eco-friendly, natural resin that gives a warm, organic look, but less durable than polyurethane.
- Oil Finishes: Tung or linseed oil enhances the wood grain, offering a rich appearance but requires reapplication.
- Rubio Monocoat: Eco-friendly, natural matte finish that protects with just one coat.
Step 3: Applying the Finish
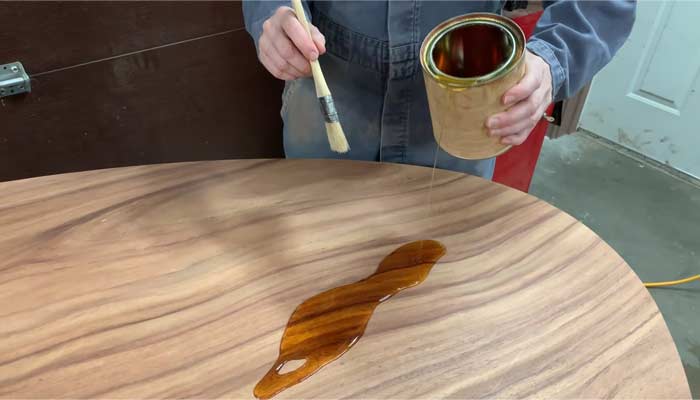
When applying a finish to your live edge wood slab, the technique varies based on the type of finish you choose.

Here’s a breakdown:
- Polyurethane:
- Use a brush or spray to apply thin, even coats.
- Brush in long, smooth strokes, following the grain of the wood to avoid streaks.
- Apply 2-3 coats, allowing each to dry for the recommended time before lightly sanding between coats for a smooth finish.
- Oil Finishes (Tung or Linseed Oil):
- Use a soft cloth to rub the oil into the wood in circular motions, ensuring it penetrates deeply into the grain.
- Wipe off any excess oil after 15-20 minutes to prevent it from pooling.
- Reapply as needed after the wood absorbs the first coat, typically 2-3 applications for a rich, deep finish.
- Shellac:
- Apply with a pad or sprayer for an even finish.
- Use light, overlapping strokes if spraying to ensure smooth coverage.
- Multiple thin coats (2-3) are recommended, with light sanding between each.
- Lacquer:
- Best applied with a spray gun to achieve a glossy, mirror-like finish.
- Use even, sweeping motions to avoid drips, applying several light coats.
- Allow each coat to dry fully before sanding lightly for a polished look
Remember to let the coat fully dry before sanding and applying the next layer.
Step 4: Final Touches
Once your live edge wood slab is sealed and sanded, it’s time to add the finishing touches. You can carve designs into the wood with a router or chisel, or add metal hardware for a polished look. If you prefer a natural appearance, simply leave it as-is.

Make sure any additional features, like rubber feet for stability or regular sealant in high-traffic areas, fit the space and function of your slab.
With a few simple steps, you can create a unique piece that adds character and charm to any room.
Find more: Everything You Need to Know About Live Edge Table
Step 5: Maintenance and Care
To maintain the beauty of your live edge wood piece, use gentle cleansers and soft cloths. Avoid harsh chemicals that could damage the finish. A simple mixture of water and mild soap works well for regular cleaning.
Over time, minor scratches or dings may appear on the surface. To touch up these imperfections, lightly sand the area and reapply the finish as needed to restore the wood’s appearance.
To preserve the finish and protect your live edge wood furniture from scratches and stains, use placemats, coasters, and felt pads under heavy objects. Regularly apply wood conditioner or oil, depending on the finish, to keep the wood looking vibrant and fresh.
Find more: Top 5 Wood for Live Edge Table
Conclusion
In conclusion, the detailed guide has helped you to understand how to finish live edge wood, which is a rewarding process that enhances the natural beauty of the wood while adding durability and character to your piece. By carefully cleaning, choosing the right finish, and following long-term care tips, you can create a stunning piece of furniture that lasts for years.
If you’re looking for high-quality wood slabs for your next live edge project, K-Timber offers a variety of premium options to suit your needs. Explore our selection and bring the timeless beauty of live edge wood into your space today!


![[K-Timber] Blog Post Boder](https://k-timbers.com/wp-content/uploads/2024/07/K-Timber-Blog-Post-Boder-4.jpg)

![[K-Timber] Blog Post Boder](https://k-timbers.com/wp-content/uploads/2024/07/K-Timber-Blog-Post-Boder-3.png)

